Setting powder locks foundation and concealer in place, cuts shine and stops creasing. Used badly, it's also the fastest way to make makeup look cakey. The trick is knowing how much to use, where to put it and which tool to use. Here's how to set your makeup, how baking works and how loose and pressed powders differ.
Key takeaways
- Use setting powder after all liquid and cream products, and before powder blush and bronzer.
- Press powder in with a puff or sponge where you crease or get oily, and sweep lightly everywhere else.
- Baking means leaving a thicker layer on for a few minutes before dusting it off. It's optional and best kept to small areas.
- Less is more on dry or mature skin. Focus only on the areas that need it.
In this guide
Loose vs pressed setting powder
| Loose powder | Pressed powder | |
|---|---|---|
| Texture | Very fine, airy | Compact, firmer |
| Best for | Setting a full face at home, baking | Touch-ups on the go |
| Mess | More | Less |
| Examples | Givenchy Prisme Libre, Charlotte Tilbury Airbrush Flawless, Huda Beauty Easy Bake Loose | Huda Beauty Easy Bake Pressed |
Translucent powders work on most skin tones. Tinted powders give a little extra coverage but should match your foundation.
How to set your makeup, step by step
Finish all creams and liquids
Foundation, concealer, cream blush, cream bronzer and contour go on first. Powder on top of wet creams stops them blending.
Load a puff or sponge
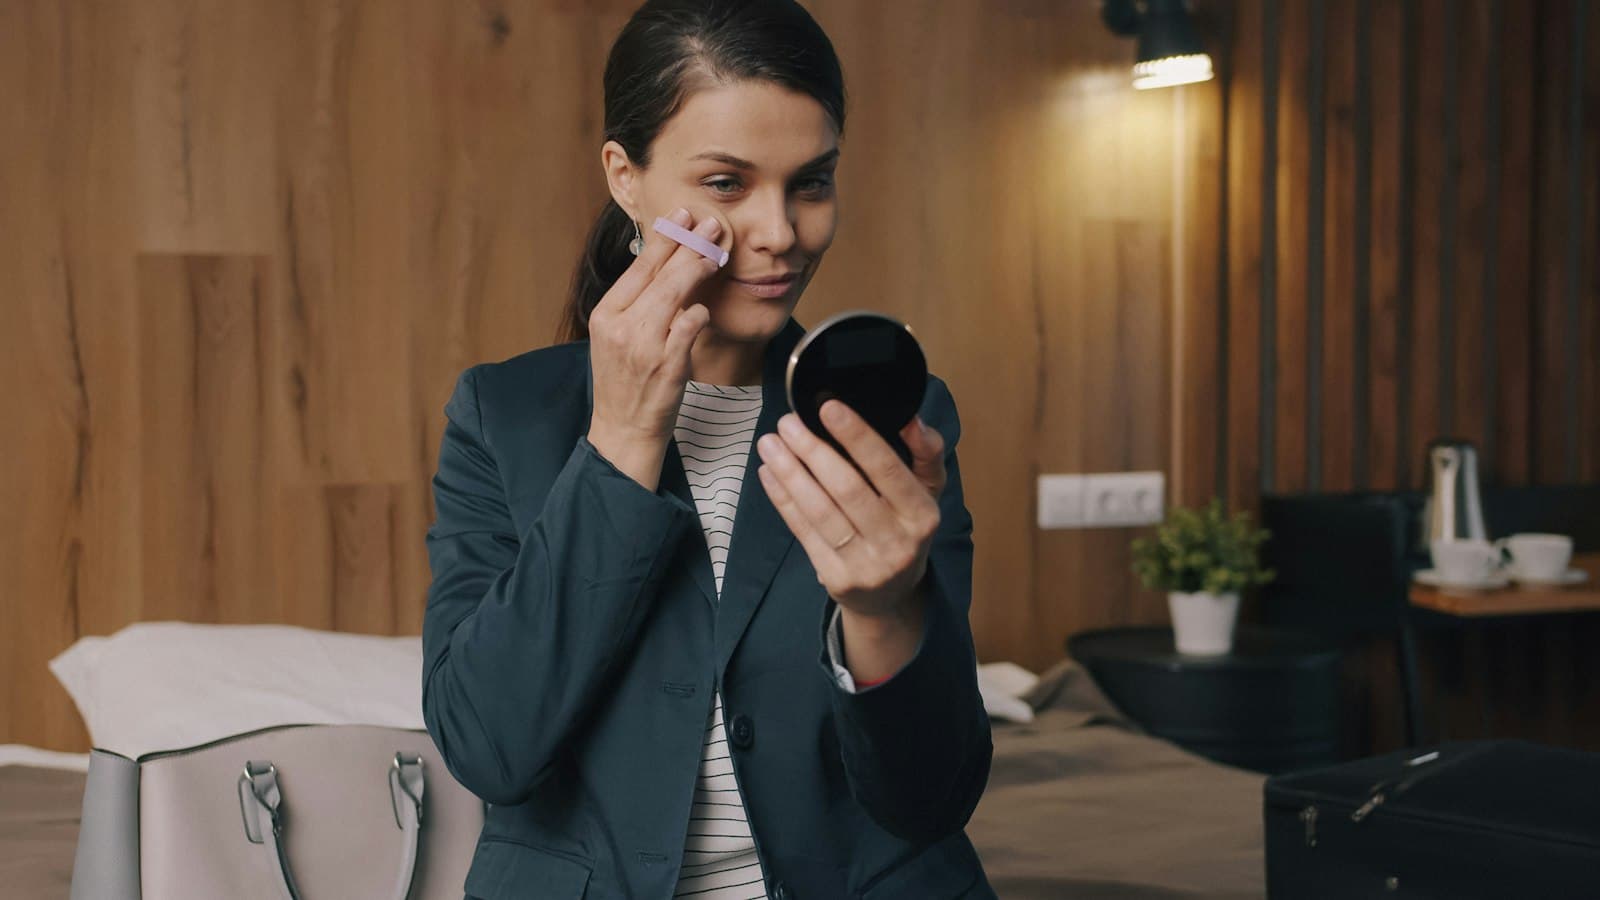
Press a velour puff or a damp sponge into a small amount of powder, then fold the puff and rub it together to work the powder in.
Press where you crease or shine
Press and roll it under the eyes, around the nose, on the chin and the center of the forehead.
Sweep the rest lightly
Use a big fluffy brush with just a little powder for the cheeks and the rest of the face.
Add powder products
Now apply powder blush, bronzer and highlighter, then finish with setting spray if you use one.
Creator @danielllestrada sets with Givenchy Prisme Libre in a night-out look and uses Charlotte Tilbury's Airbrush Flawless powder for bridal makeup.
How to bake your makeup
Baking means leaving a thick layer of loose powder on top of concealer for a few minutes so it sets firmly, then dusting off the extra. It gives a very smooth, crease-proof finish under the eyes.
Apply concealer
Blend your concealer and let it sit for a minute.
Press on a generous layer
Use a damp sponge to press loose powder under the eyes and anywhere else you want to bake.
Wait 3 to 5 minutes
Do your brows or eyes while it sits.
Dust it away
Sweep off the extra with a fluffy brush in downward strokes.
Creator @alishasapproach uses Huda Beauty Easy Bake Loose powder in her makeup steps.
Common setting powder mistakes
- Using too much powder all over the face, which looks cakey.
- Powdering before cream blush or bronzer.
- Using a white powder with lots of silica for flash photos, which can cause white flashback.
- Not moisturizing first, so powder clings to dry patches.
- Baking the whole face instead of small areas.
Under-eye creasing often comes from too much eye cream or concealer, not too little powder. Let skincare absorb fully first. Our skincare routine order guide shows what goes on when.
Frequently asked questions
Do you put setting powder on before or after foundation?
After. Setting powder goes on top of foundation and concealer to lock them in place.
Is setting powder the same as finishing powder?
Not quite. Setting powder holds makeup in place and controls shine. Finishing powder is a final, very light layer to blur and soften the look. Many powders do both.
How long should I bake my makeup?
3 to 5 minutes is enough. Longer doesn't help and can dry out the area.
Can I use setting powder without foundation?
Yes. A light dusting of translucent powder on bare skin can reduce shine without adding coverage.
Should I use a brush or a puff?
A puff or sponge presses powder in for stronger hold where you crease or get oily. A fluffy brush gives a lighter finish for the rest of the face.
This guide is for general information only and isn't medical advice. If you have a skin condition or a reaction to a product, talk to a dermatologist.
More guides in How to Use